반응형
<HikariCP>
HikariCP는 가벼운 용량과 빠른 속도를 가지는 JDBC의 커넥션 풀 프레임워크
SpringBoot는 커넥션 풀 관리를 위해 HikariCP를 사용
<Connection Pool 설정>
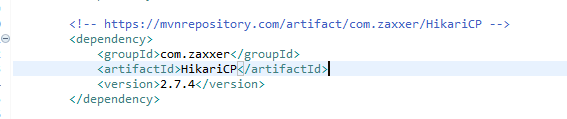
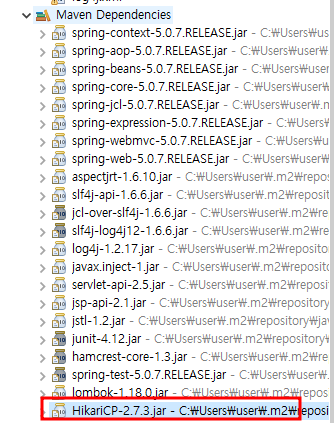
1. hikari 라이브러리 추가
https://mvnrepository.com/artifact/com.zaxxer/HikariCP/2.7.3
- pom.xml 에 추가
2. HikariConfig bean, dataSource bean 등록
- root-context.xml 에 추가
->스프링이 로딩되면서 읽어들이는 문서, 주로 이미 만들어진 클래스들을 이용해서 스프링의 빈(bean)으로 등록할 때 사용
->일반적으로는 프로젝트에서 직접 작성하는 클래스 - 어노테이션 사용
->외부jar파일들은 <bean> 태그를 이용해서 작성
->oracle db
	<bean id="hikariConfig" class="com.zaxxer.hikari.HikariConfig"> <!-- 해당 변수명과 클래스이름 -->
		<property name="driverClassName" value="oracle.jdbc.driver.OracleDriver"></property>
		<property name="jdbcUrl" value="jdbc:oracle:thin:@Localhost:1521:orcl"></property>
		<property name="username" value="scott"></property>
		<property name="password" value="tiger"></property>
	</bean>

	<bean id="dataSource" class="com.zaxxer.hikari.HikariDataSource" destroy-method="close">
		<constructor-arg ref="hikariConfig" />
	</bean>
HikariConfig : db 정보 세팅
HikariDataSource : db 연결
A a = new A()


a: bean id
A: bean class

 a -> 생성한 참조변수명
 A -> A클래스에 소속

 -> A클래스를 a라는 이름으로 생성하겠다
3. JUnit 단위 테스트
-pom.xml 추가
<!-- Test -->
		<dependency>
			<groupId>junit</groupId>
			<artifactId>junit</artifactId>
			<version>4.12</version>
			<scope>test</scope>
		</dependency>

		<!-- https://mvnrepository.com/artifact/org.springframework/spring-test -->
		<dependency>
		    <groupId>org.springframework</groupId>
		    <artifactId>spring-test</artifactId>
		    <version>${org.springframework-version}</version>
		    <scope>test</scope>
		</dependency>
package com.zerock.peristence;
import java.sql.Connection;
import java.sql.SQLException;
import javax.sql.DataSource;
import org.junit.runner.RunWith;
import org.springframework.beans.factory.annotation.Autowired;
import org.springframework.test.context.ContextConfiguration;
import org.springframework.test.context.junit4.SpringJUnit4ClassRunner;
import lombok.Setter;
import lombok.extern.log4j.Log4j;
@RunWith(SpringJUnit4ClassRunner.class)
@ContextConfiguration("file:src/main/webapp/WEB-INF/spring/root-context.xml")
@Log4j
public class DataSourceTest {
//bean id="dataSource
@Setter(onMethod_=@Autowired)
private DataSource dataSource;
public void testConnection() {
try {
Connection con = dataSource.getConnection();
log.info(con);
} catch (SQLException e) {
e.printStackTrace();
}
}
}반응형
'spring' 카테고리의 다른 글
| @Controller, @RequestMapping (0) | 2022.12.21 |
|---|---|
| servlet 버전 변경 (0) | 2022.12.20 |
| MyBatis 설정 (0) | 2022.12.20 |
| bean 등록방식 (0) | 2022.12.20 |
| JDBC연결 ( jdbc6.jar 설치) 필수3 (0) | 2022.12.20 |

